Solar Camera Buying Guide: How to Choose the Right One for Your SA Home
This solar camera buying guide exists because most people waste money on the wrong camera. They either overspend on features they’ll never use, or they go too cheap and end up with a unit that dies after two cloudy days. South African conditions — load shedding, heat, dust, afternoon Highveld storms — are harder on electronics than most product descriptions account for. Before you spend a rand, read this. It’ll save you from a bad purchase and a lot of frustration.
What Is a Solar Camera and How Does It Work?
A solar security camera runs off a built-in solar panel and rechargeable battery rather than your household power supply. The panel charges the battery during daylight hours, and the camera draws from that stored power at night or during outages. It’s a completely self-contained unit — no cable runs, no electrician, no monthly Eskom bill for the setup.
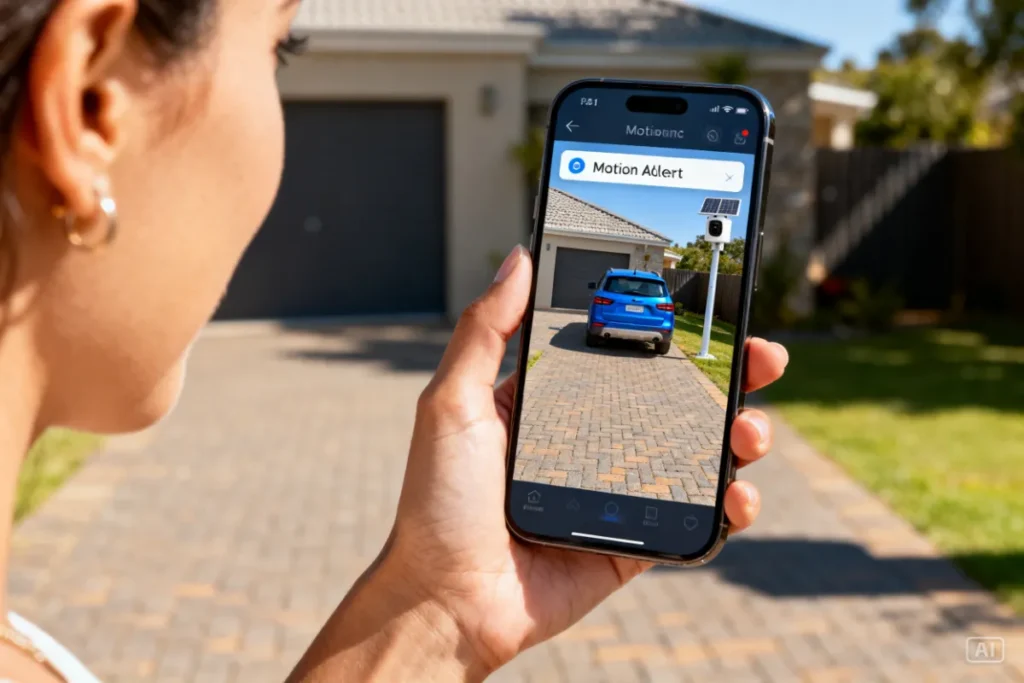
Most models connect to your home WiFi and stream live footage to a smartphone app. Motion alerts, two-way audio, and cloud or SD card storage are standard on any decent mid-range unit. The off-grid nature of these cameras is what makes them ideal for South African homes where load shedding can run 4–12 hours a day.
Solar Camera Buying Guide: The 6 Features That Actually Matter
This is the core of any good solar camera buying guide — understanding which specs matter and which are marketing noise. Focus on these six:
| Feature | What to Look For | Why It Matters in SA |
|---|---|---|
| Resolution | 2K minimum, 4K ideal | Clearer number plate and face capture |
| Solar Panel Wattage | 3W minimum, 5–6W preferred | Keeps battery topped up through SA winters |
| Battery Capacity | 10,000 mAh minimum | Covers 2–3 days of overcast or load shedding |
| Night Vision Type | Colour night vision preferred | Black-and-white IR misses detail |
| IP Rating | IP65 minimum, IP66 preferred | Handles SA rain, dust, and heat |
| Storage | SD card slot (local) + optional cloud | Cloud-only means monthly fees and data use |
Don’t get distracted by brands promising “AI detection” on a 2W panel and a 4,000 mAh battery. The panel and battery are the engine — everything else is secondary.
How Much Should You Spend? SA Price Guide
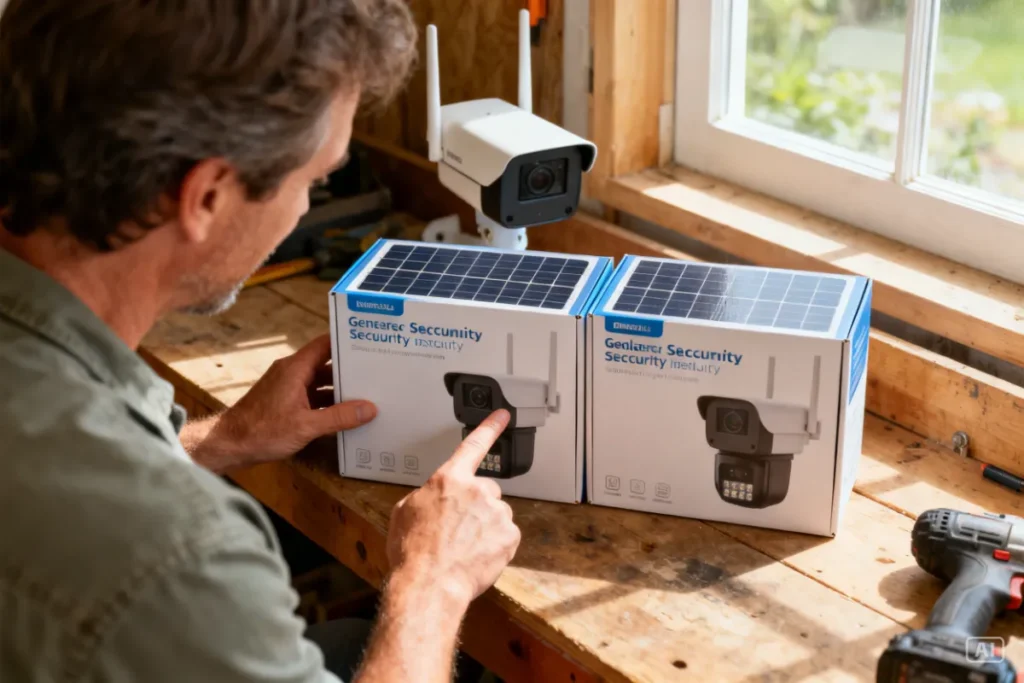
South African buyers have three realistic tiers to choose from. Here’s what you actually get at each level:
Budget: R600–R950 You get basic 1080p recording, infrared night vision (black and white), and a small solar panel (1–2W). These work in well-lit, sunny positions with minimal cloud cover. Don’t expect them to carry you through a week of Joburg winter overcast. Fine for a secondary camera on a well-lit outbuilding.
Mid-Range: R1,200–R1,800 This is where value lives for most SA homes. You get 2K resolution, colour night vision, a 3–5W panel, 10,000–15,000 mAh battery, and local SD storage. This tier handles load shedding, bad weather, and gives footage good enough for SAPS or insurance purposes. This is what we recommend for gates, driveways, and boundary walls.
Premium: R2,500+ 4K resolution, 6W+ panels, AI-powered person and vehicle detection, and full two-way audio. Worth it for larger properties, smallholdings, or high-risk areas. Overkill for a standard suburban townhouse.
Step-by-Step: How to Choose the Right Solar Camera for Your Property
Work through this checklist before you buy:
- Identify your mounting position. Is it in full sun, partial shade, or mostly shaded? Shaded positions need a higher-wattage panel or a model with a separate remote panel.
- Measure the coverage area. A driveway needs a wide-angle lens (110–130°). A narrow passage or gate needs a tighter angle (90° or less) for detail.
- Check your WiFi signal at the install point. Most cameras need a stable signal to upload and send alerts. Test with your phone before buying.
- Decide on storage. If you want zero monthly fees, pick a model with a micro SD card slot (64GB is plenty for 7–14 days of footage). Cloud storage is optional but useful for off-site backup.
- Confirm the IP rating. Outdoor installation in SA needs IP65 minimum. If it’s near a pool, sprinklers, or exposed coast, go IP66 or higher.
- Check app compatibility. Make sure the camera’s app works on both Android and iOS, and read a few user reviews about app stability — this is where many budget brands fall apart.
Solar Camera Buying Guide: What to Avoid
These are the mistakes we see SA buyers make repeatedly:
- Buying on panel wattage alone. A 6W panel means nothing if the battery can’t store enough power. Check both specs together.
- Ignoring the storage situation. Several popular budget brands offer cloud storage only — then charge you after a 30-day free trial. Read the fine print.
- Mounting in full shade. It sounds obvious, but people mount cameras under eaves for protection and block the solar panel completely. Many models allow the panel to be angled separately — use that feature.
- Choosing 1080p for gate or driveway coverage. You won’t be able to read a number plate clearly at 1080p beyond 4–5 metres. Spend the extra R300–R400 for 2K.
- Buying without checking local after-sales support. If the brand has no SA distributor or local return process, you’re on your own if it fails.
Recommended Solution: The Setup Most SA Buyers Are Going With
For the majority of South African homes — townhouses, freestanding properties, and rental units — the 4K Solar Camera covers everything on this buying guide checklist. It ships with a 5W panel, runs 2K resolution with colour night vision, includes a micro SD slot for local storage, and requires zero professional installation. This is one of the most popular setups we’re seeing locally right now, particularly for boundary walls and driveways where night coverage is non-negotiable. No subscription fees, no electrician, and no Eskom dependency. Simple plug-and-mount that any homeowner can sort out in under 30 minutes. Perfect for first-time solar camera buyers who want a reliable unit without overcomplicating the decision.
If you’re starting from scratch with your home security setup, the Ultimate Guide to Solar Security Cameras in South Africa covers the full picture — from placement to monitoring to pairing cameras with other devices.
For added peace of mind during load shedding, pair your camera with a Mini UPS to keep your WiFi router running so remote viewing stays live during outages.
Zack’s Verdict
Here’s the short version of this entire buying guide: spend R1,200–R1,800, get 2K resolution, get colour night vision, make sure it has a micro SD slot, and check that the solar panel is at least 3W. That’s it. Everything above that is a bonus, and everything below that is a compromise you’ll regret in three months. The camera market has matured enough that you don’t need to overspend — you just need to know which four or five specs to prioritise. Now you do.
FAQ: Solar Camera Buying Guide for SA Homeowners
Q: How many solar cameras do I need for a standard SA home? Most homes need 2–3 cameras minimum — one covering the front gate or driveway, one at the back, and one on a side passage if applicable. Start with the highest-risk point first and expand from there.
Q: Can I use a solar camera indoors? Technically yes, but it’s wasteful. The solar panel won’t charge effectively indoors. Use a standard battery or wired camera for indoor applications and save the solar unit for outdoor positions.
Q: Do solar cameras work in Johannesburg winter when there’s less sun? Yes, but panel wattage matters more in winter. A 5–6W panel with a 10,000+ mAh battery will comfortably handle Highveld winters. A 2W panel with a small battery may struggle during extended cloudy periods.
Q: What’s the difference between PIR motion detection and AI detection? PIR (passive infrared) detects heat movement — it triggers on anything warm that moves, including animals and blowing leaves. AI detection filters by shape, so it only alerts on people or vehicles. AI detection means far fewer false alarms and is worth paying for on a busy driveway or street-facing wall.
Q: Do I need a subscription to use a solar camera? Not if you choose a camera with a local SD card slot. Cloud subscriptions are optional and add monthly costs. Buy a 64GB micro SD card and you’re covered for 7–14 days of rolling footage with no ongoing fees.
Q: What WiFi speed do I need for a solar camera to work properly? A stable connection of 2Mbps upload at the camera location is sufficient for most 1080p and 2K cameras. 4K cameras benefit from 4–5Mbps upload. The bigger issue in SA is router range — if your WiFi signal is weak at the mounting point, consider a WiFi extender before buying a camera.
Q: Can a solar camera be stolen or vandalised? It can, but mounting at 2.5–3 metres height makes it difficult to reach without a ladder. Some models include tamper alerts that trigger when the camera is moved or covered. Metal mounting brackets (not plastic) also make removal harder.
Conclusion: Make a Smart Buy, Not a Fast One
A solar camera is one of the most practical security upgrades you can make to a South African home right now — but only if you buy the right one. Use this solar camera buying guide as your checklist, stick to the mid-range sweet spot unless you have a specific reason to go higher, and don’t let a low price tag on a budget model tempt you into a poor investment.
Head to Zacks Bargains to see the current range — all vetted for South African conditions and priced to make sense for SA budgets.